6 Easy Steps to Lay Pavers
Laying pavers for your own home and landscaping may seem like an overwhelming and intimidating project. Homeowners use these pavers to enhance the appearance of their property and beautify a space. Pavers can also increase the functionality of your outdoor area by providing a smooth and stylish patio, walkway, or sitting area. For those who aren’t familiar with the process, don’t worry! We asked our experts how they would start the project and they gave us these six easy steps to install pavers around your home. Just follow the steps and transform your space. Let’s take a look.
1. Prepare the area by excavating the soil and making a flat space to lay your pavers.
You will start the process by marking the ground around the space where you want to lay pavers. This could be a small storage area, a walkway, or your back patio! After that, excavate the soil to the desired depth, typically around 7-10 inches. The exact depth will depend on the paver thickness and the type of soil in your area. Before you start be sure to do your research on what depth would be best for your space. If you are unsure, ask a professional what to do before you start your project.
*Important information*
Ensure the ground is level and has a slight slope (1/8 inch per foot) for proper drainage away from structures. Do not skip this step!
2. Secure your corners around the area to ensure an even layout.
Use wooden stakes or string to mark the corners and edges of the landscape area. Also, make sure the corners are square by measuring diagonally from one corner to the other corner and adjusting as needed. If you do not measure the area, you run the risk of installing the pavers crooked or off-center.
3. Set the grade for your area to your specifications for proper drainage.
Depending on the location of your project, you may need to consider the grading before installing your pavers. You can establish the desired grade by using a line level or a laser level. It will also ensure that the area has the correct slope for water runoff. Then, place the level string or laser at the desired height and measure down from it to the ground at various points to create a uniform slope.
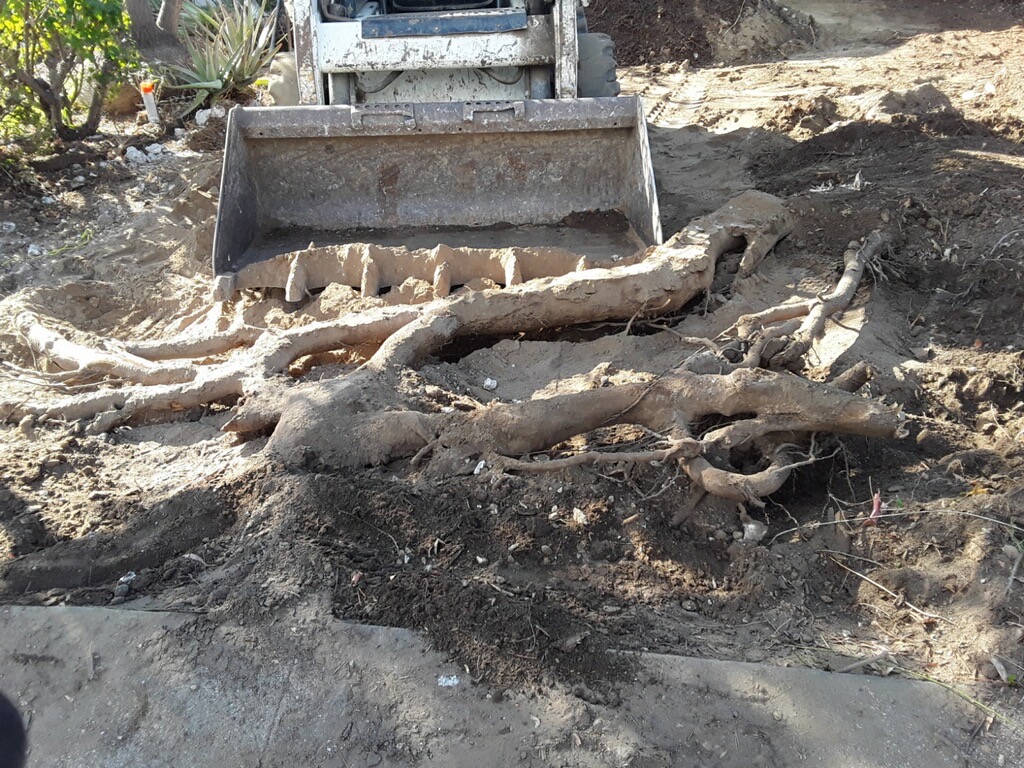
4. Remove debris and compact your soil to create a stable base.
After ensuring proper grading, you need to clear the area of any remaining debris, rocks, or roots. Make sure to clear the area thoroughly so that the pavers lay correctly. Then, compact the soil using a plate compactor to create a stable base. Make sure the soil is still at the desired grade and height after compacting.
5. Optional: Lay geotextile fabric and spread gravel around the area.
Some contractors will roll out a layer of geotextile fabric over the excavated area to help prevent weed growth and provide additional stability. You can add a layer of crushed gravel or class 2 base material to the excavated area. Compact the gravel with the plate compactor in 2 to 3 inch layers until you achieve a firm and even base. Measure the grading once more to ensure the proper slope is still there for the drainage of the driveway. The installation is an additional cost, so it may help to consult with a contractor to determine if you might need it for your project.
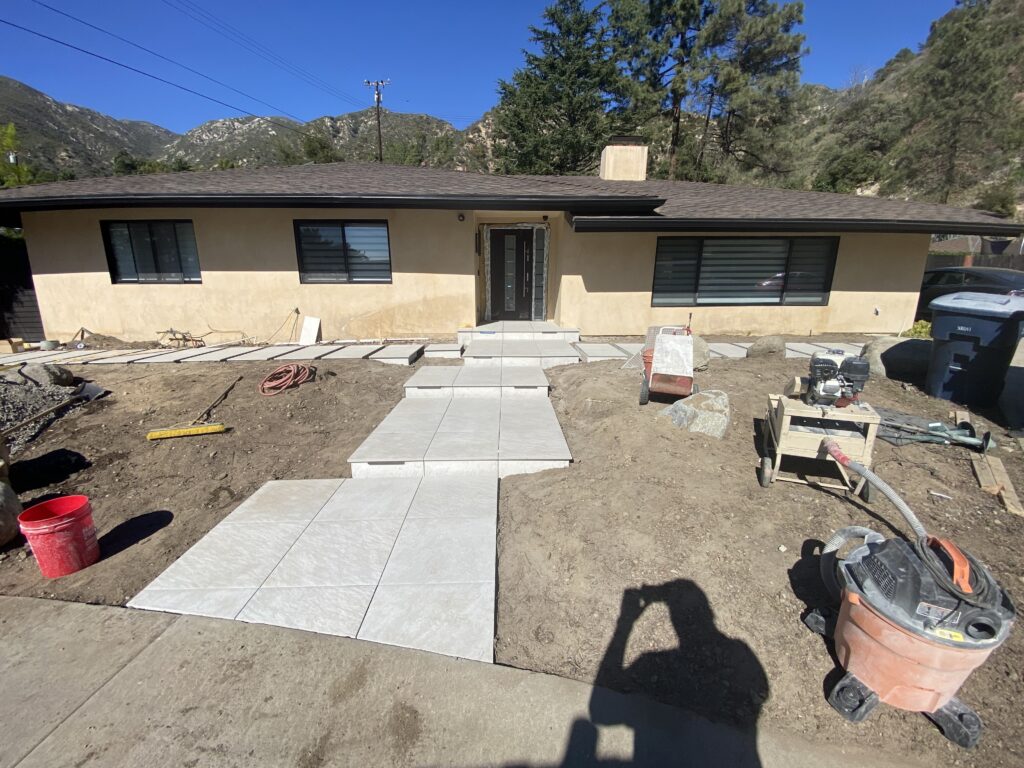
6. Lay paving stones

Finally! It’s time to lay the pavers for your space. You can complete the process quickly and efficiently if you know how to accurately lay your pavers the first time. If you have any questions, professionals are always on call to help consult for your project. For this important final step, we have compiled some effective tips for you to consider before you lay your pavers down.
Here is the list from our experts:
- Start laying pavers from one corner or edge and work your way across the desired space.
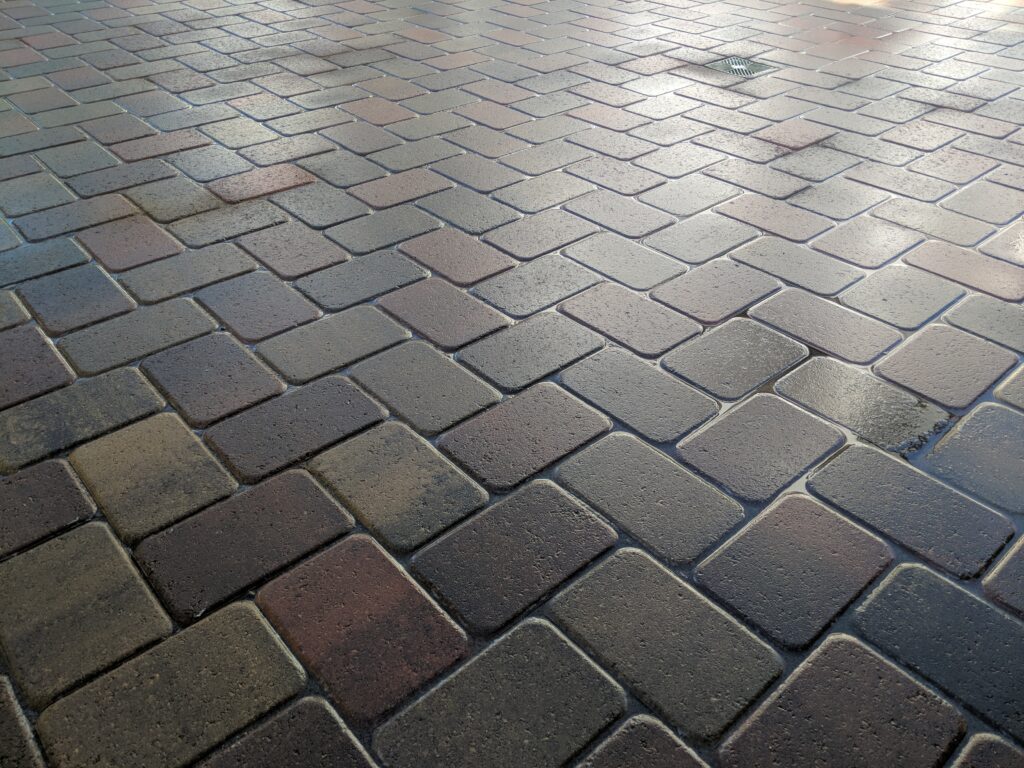
- Place pavers tightly together to create a pattern or design of your choice. You can use a string or straightedge to maintain straight lines.
- Tap each paver gently with a rubber mallet to ensure they are level and well-seated in the gravel base.
- If needed, periodically check the level and slope as you lay the pavers to maintain a consistent grade.
- Cut pavers as needed to fit around the edges or curves using a wet saw or a paver splitter.
- Fill the gaps between the pavers with jointing sand, and then compact the pavers once more to settle them and distribute the sand evenly.
- Sweep any excess sand off your pavers’ surface.
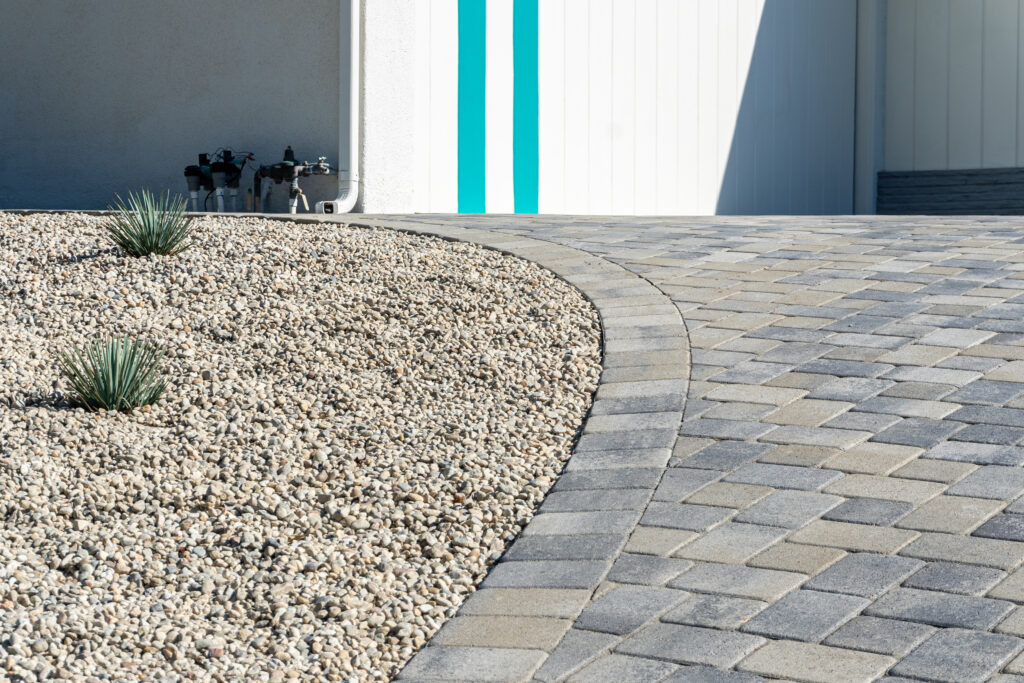
Once all the pavers are in place and the joints are filled with sand, your space is ready for use! Homeowners can also consider adding an edge restraint or border to secure the pavers in place and prevent spreading. After you have installed the gorgeous pavers to your outdoor area, you can elevate the space even more by adding lighting, decor, or even small plants.
Conclusion
Those are the six easy steps for how to lay pavers for an outdoor space around your home. Homeowners must keep a keen eye on details during any DIY project, especially when installing pavers. Excavating the soil properly, clearing the area of all debris, and ensuring the proper grading are just some of the important steps to keep in mind. Make sure to lay out your pavers evenly and above all, regularly maintain your pavers by cleaning and re-sanding the joints as needed to keep it looking great and functioning well.
